
In this guide 11 sections
Tile chipping is the loss of small pieces of material along a cut edge. On glazed tile, damage may affect the decorative surface; on porcelain, it may also extend into the body. A chipped edge can mean extra finishing, rejected strips or a part that no longer meets the customer's requirements.
The first question is usually whether a different diamond blade will solve the problem. Sometimes it will. However, a blade change cannot correct an unstable offcut, a misaligned cutting path or interrupted cooling. Buying another blade before identifying the pattern can leave a factory with the same defect and no useful comparison.
For ceramic and porcelain tile processing, start by locating the damage. Then check blade suitability, installation, machine condition, workpiece support and the cutting procedure. This guide explains how to organize those checks and turn a trial cut into information that production staff and a blade supplier can use.
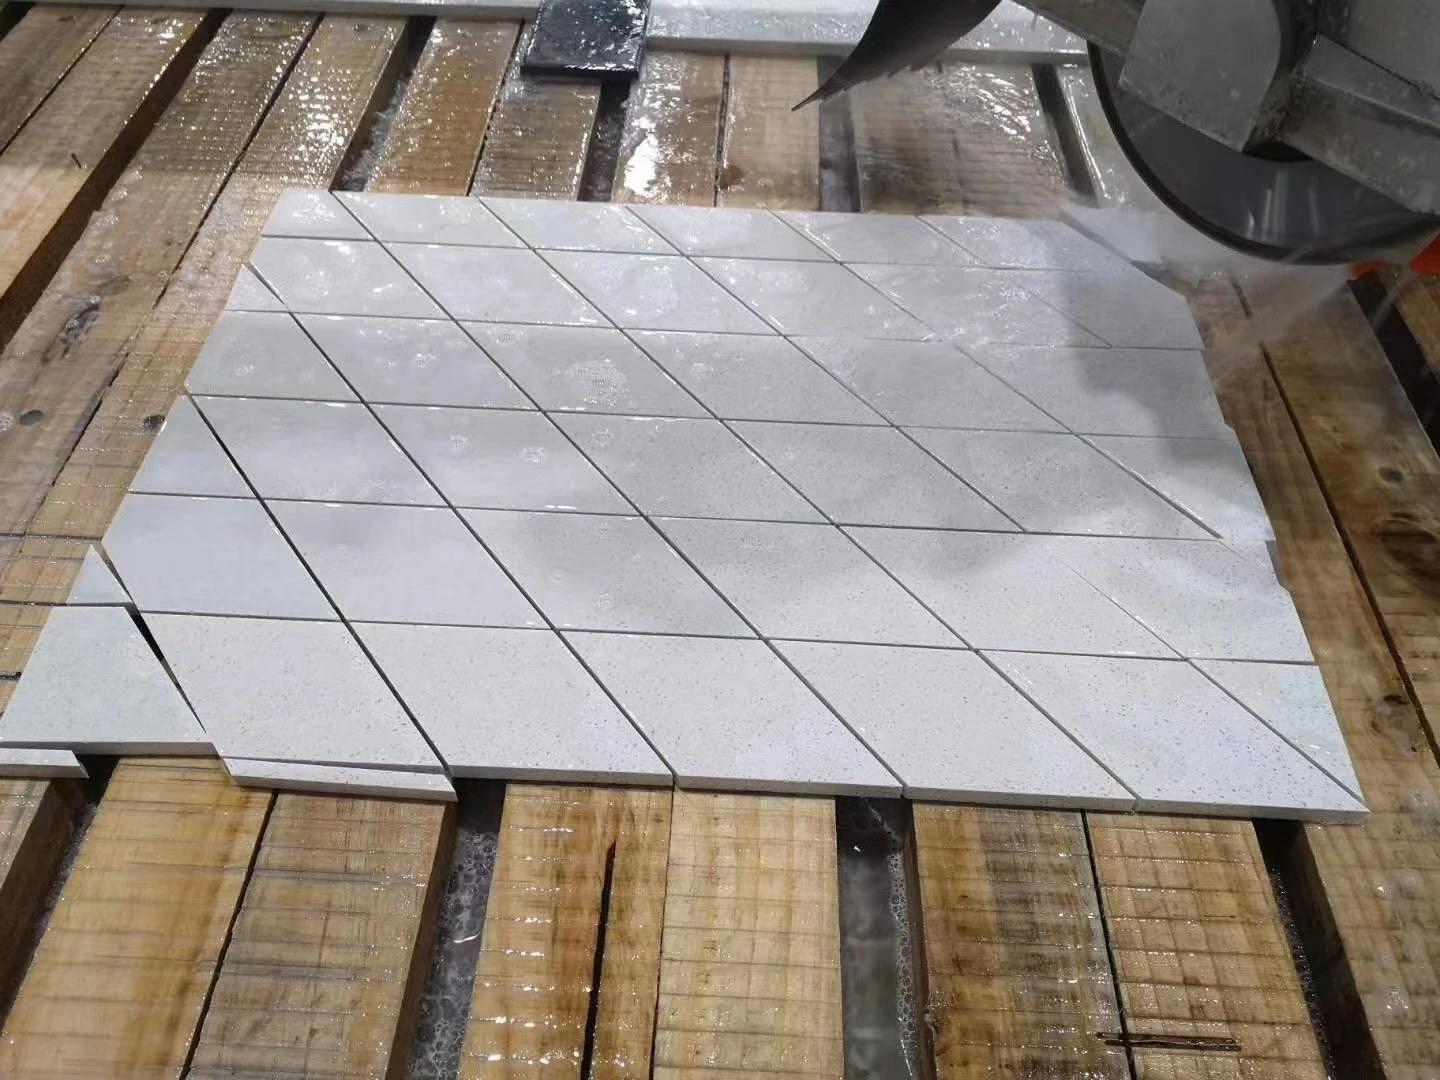
What causes tile to chip during cutting?
Tile can chip when the cutting action or movement of the workpiece breaks material away from the intended edge. Potential contributors include an unsuitable or deteriorated blade, vibration, poor alignment, inadequate support, inconsistent feed and unsuitable cooling conditions. Several can occur together.
The practical response is to identify where chipping starts, check the installation and process, and compare cuts under controlled conditions. A damage pattern guides the investigation; it does not prove that one component is responsible.
Read the damaged edge before changing the setup
Keep one rejected part and mark its original orientation. Identify the visible face, underside, entry and exit, together with the direction of travel. Photograph the full edge and close-ups using consistent lighting and a scale. Compare the same locations on subsequent samples.
| Observed pattern | First checks | Useful evidence |
|---|---|---|
| Small chips along much of the visible face | Blade application, cutting condition, feed consistency and vibration | Full-length edge photo and close-ups at entry, middle and exit |
| Damage mainly underneath | Support near the cut, tile contact and approved cutting orientation | Underside photo and support layout |
| A corner breaks away at the end | Offcut movement, support and the programmed exit procedure | Exit-area photo with the offcut still identified |
| One side is worse or the cut wanders | Guidance, alignment, mounting and possible lateral movement | Both cut edges, machine settings and blade identification |
| The defect begins after a material change | Tile product, finish, thickness and batch | Previous and current material references |
| Quality deteriorates during repeated cuts | Blade condition, water delivery, debris and changing support | Samples labeled in cutting order |
Compare the options Tap to expand
Small chips along much of the visible face
- First checks
- Blade application, cutting condition, feed consistency and vibration
- Useful evidence
- Full-length edge photo and close-ups at entry, middle and exit
Damage mainly underneath
- First checks
- Support near the cut, tile contact and approved cutting orientation
- Useful evidence
- Underside photo and support layout
A corner breaks away at the end
- First checks
- Offcut movement, support and the programmed exit procedure
- Useful evidence
- Exit-area photo with the offcut still identified
One side is worse or the cut wanders
- First checks
- Guidance, alignment, mounting and possible lateral movement
- Useful evidence
- Both cut edges, machine settings and blade identification
The defect begins after a material change
- First checks
- Tile product, finish, thickness and batch
- Useful evidence
- Previous and current material references
Quality deteriorates during repeated cuts
- First checks
- Blade condition, water delivery, debris and changing support
- Useful evidence
- Samples labeled in cutting order
Separate chipped edges from complete tile fractures. Also distinguish damage created during cutting from damage during unloading, stacking or transport. Inspect before handling changes the evidence. If only finished bundles are checked, the point at which the defect appeared may be difficult to establish.
Check 1: Match the blade to the tile and the operation
Identify the tile beyond its color or trade name
Record whether the workpiece is glazed ceramic, porcelain or another documented material. Add the product reference, surface finish, thickness and intended cut. Straight sizing, narrow-strip production and angled work impose different requirements, even when the starting tile is the same.
A useful supplier enquiry describes the required edge: exposed after installation, covered by trim, or prepared for a later finishing operation. These applications need different acceptance criteria. “Good edge quality” is too vague for comparing blade proposals.
Look beyond rim shape
A continuous-rim blade is a relevant option for many ceramic and porcelain finishing applications. Nevertheless, the complete specification matters: material suitability, diamond and bond system, rim geometry, blade body, dimensions and operating limits.
Do not assume that every continuous-rim blade behaves alike, or that every segmented design is unsuitable for tile production. Compare the supplier's stated application with the actual job. Our continuous-rim and segmented blade guide explains the selection questions in more detail.
Separate a dull cutting surface from physical damage
If cutting resistance has increased, stop and inspect the blade using the manufacturer's procedure. A glazed cutting surface and a cracked, distorted or otherwise damaged blade require different responses. Any dressing method must be approved for that blade; it cannot repair structural damage.
Record whether the blade was new, previously used or dressed before the trial. Comparing a fresh blade with an unidentified used blade tells little about their specifications.
Check 2: Verify installation and machine condition
Installation preparation should cover the blade identification, diameter, mounting bore, flange arrangement, rotation direction and permitted operating speed. Compatibility involves the complete assembly, not simply whether the blade fits over the shaft.
Stop, isolate the machine and wait for all movement to cease before hands-on checks. Follow the equipment procedure for cleaning and inspecting mounting surfaces. Keep the required guards in place during operation and remove damaged blades from service. These principles align with Norton's diamond blade safety guidance.
Ask qualified maintenance personnel to investigate loose components, bearing play, alignment or suspected runout. Runout describes deviation from the intended rotation; it should be checked using the equipment maker's measurement method and limits. An apparent wobble in a video is not a measurement.
If a cut drifts, do not compensate by pushing the tile sideways against the blade. Preserve the sample and check the guidance system. Our blade wobble and runout guide provides a separate diagnostic sequence.
Check 3: Support the tile and the offcut throughout the pass
A supported tile can still produce an unstable offcut. Consider what happens as the remaining connection becomes smaller, particularly during narrow-strip or diagonal cutting. Check the support arrangement for the complete path, including the final part of the cut.
With the machine safely stopped, inspect the table for debris, damaged contact surfaces or a setup that allows the tile to rock. Use the machine manufacturer's workholding and support arrangements. Improvised packing or holding a moving offcut by hand can introduce additional hazards and inconsistent results.
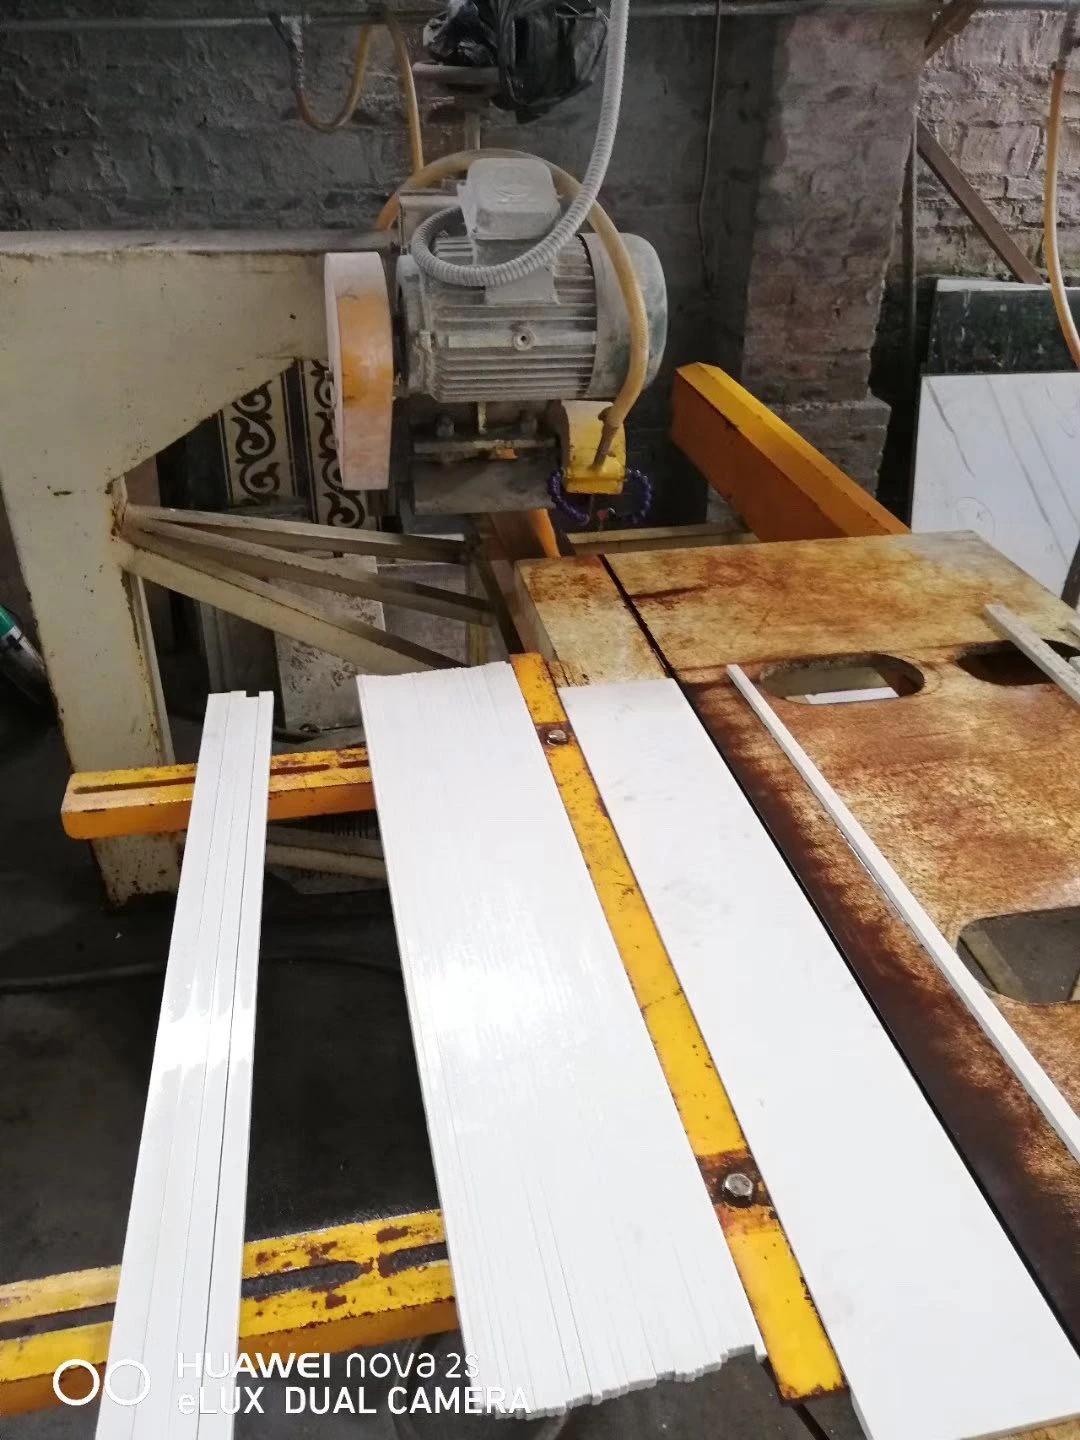
For repeated strip production, record strip width and cutting sequence. A trial involving one wide piece should not be treated as proof that a series of narrow strips will behave identically. Compare the operation the buyer actually needs.
Check 4: Confirm water delivery for a wet-cutting process
A wet table does not establish that water reaches the cutting zone consistently. Review the specified delivery arrangement, outlet position, supply condition and return circuit. Check for restrictions and for changes as the cutting head travels.
Observe only through the normal guarded operating procedure; stop and isolate before adjustments. Use water only with equipment and blades approved for that method. A wet-use blade must not be operated dry to simplify a comparison.
Use the machine and blade suppliers' requirements for flow and coolant conditions. There is no transferable setting that covers every saw, diameter and tile thickness. For a dedicated inspection sequence, see how to check diamond blade cooling water.
Check 5: Review feed, entry and exit together
More pressure is not a reliable cure for slow cutting. Review the permitted feed range and programmed path for the actual blade, machine and tile. Look for abrupt changes, hesitation, forced steering or movement of the workpiece near the end.
Do not assume that the slowest possible feed always gives the best edge. The objective is a stable cutting condition within the approved operating window. Any change in speed, cutting depth, number of passes or entry method should follow the relevant equipment and material instructions.
Face-up versus face-down placement is also machine-dependent. Blade rotation, cutting direction and support differ between saw designs. Use the prescribed orientation, then record it so that trial results can be repeated.
Run a controlled trial that answers one question
Define acceptance before the first cut
Agree which edge and face will be inspected, how the sample will be viewed, and what makes it acceptable. Use the customer's drawing, an approved reference sample or another agreed inspection criterion. Do not replace an actual requirement with an invented universal chip-size limit.
Where measurement is required, specify the instrument, unit and measurement location. Photograph the same sections consistently. An attractive image taken at a distance cannot establish compliance with a dimensional or edge-quality requirement.
Change one variable and keep a traceable record
First correct unsafe or noncompliant conditions. Then establish a suitable baseline. If offcut movement is suspected, evaluate the approved support arrangement before comparing another blade. If blade selection remains the question, compare suitable blades using the same documented material and operating conditions.
| Trial record | What to capture |
|---|---|
| Material | Product reference, batch, finish, thickness and sample orientation |
| Tool | Blade identification, dimensions, condition and previous use |
| Machine | Model, mounting arrangement and relevant approved settings |
| Operation | Cut type, strip width, feed, cut sequence and water arrangement |
| Inspection | Entry, middle, exit, both relevant faces and the acceptance criterion |
| Result | Accepted or rejected pieces, cutting time and finishing required |
Compare the options Tap to expand
Material
- What to capture
- Product reference, batch, finish, thickness and sample orientation
Tool
- What to capture
- Blade identification, dimensions, condition and previous use
Machine
- What to capture
- Model, mounting arrangement and relevant approved settings
Operation
- What to capture
- Cut type, strip width, feed, cut sequence and water arrangement
Inspection
- What to capture
- Entry, middle, exit, both relevant faces and the acceptance criterion
Result
- What to capture
- Accepted or rejected pieces, cutting time and finishing required
For example, a strip may remain acceptable through most of the pass and lose its final corner. Start by documenting the exit and the approved support arrangement. Keep the blade and tile reference unchanged while the permitted support correction is evaluated. If the corner improves, record that result without attributing it to a blade specification that was never changed.
If the defect remains after the setup has been checked, plan a separate blade comparison. Label each blade and sample, retain the operating record and inspect the same edge locations. If the next material batch differs, start another record rather than adding its results to the original comparison. This approach makes the trial useful even when the first change does not solve the problem: it reduces uncertainty and gives the supplier a specific question to answer.
Repeat the comparison sufficiently to distinguish a consistent outcome from an isolated good cut. Keep sample labels linked to the record. If several settings change together, treat the result as a new process combination rather than evidence that one change caused the improvement.
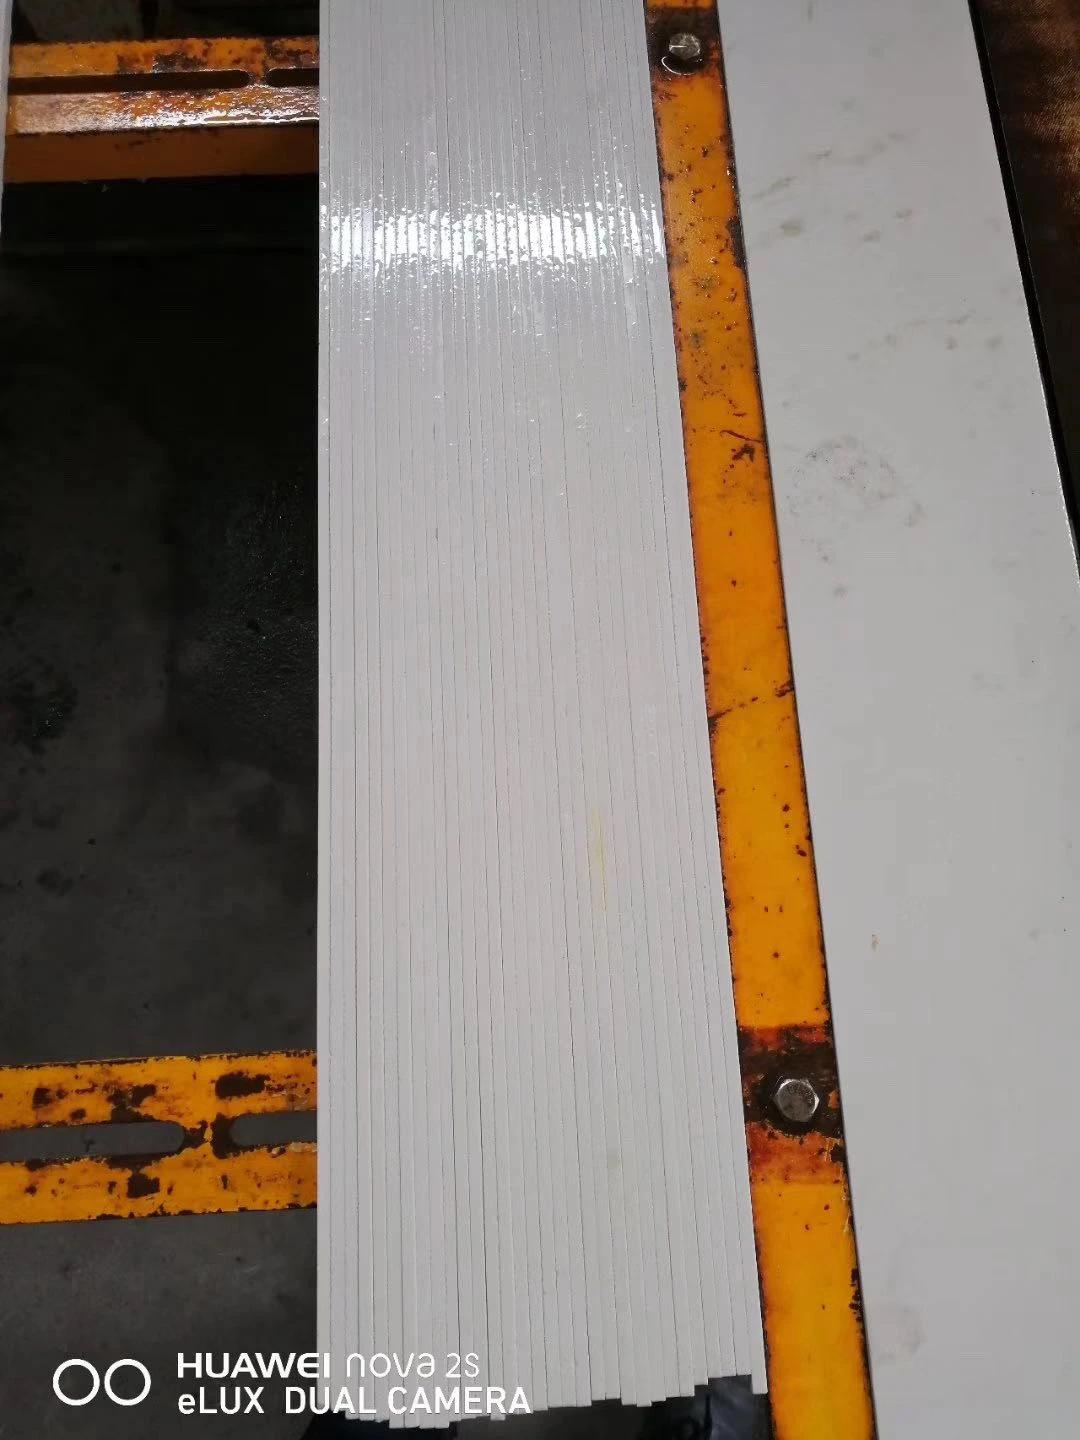
Evaluate accepted output, not speed alone
A faster pass may be less useful if it creates additional finishing work or rejected pieces. Record processing time alongside acceptance and rework. Keep handling damage separate from cutting defects.
A short trial establishes behavior under the conditions tested. A blade-life comparison needs a longer record with a defined stopping point, comparable material and consistent acceptance criteria. Avoid turning an initial successful cut into a lifetime claim.
Turn factory testing into a useful purchasing specification
When arranging factory testing with a supplier, send representative material information and the intended product application. Agree what the trial should establish: edge quality, machine compatibility or repeatability under specified conditions. Request a record of the setup with the sample results, rather than an unlabelled demonstration video.
Carry the agreed blade identification and requirements into the purchase order. For shipment inspection, distinguish checks of markings, ordered dimensions, visible condition and packaging from a cutting-performance test. A shipment inspection does not reproduce the buyer's production conditions unless that test was specifically arranged.
At receiving, inspect the supplied tools before installation and retain their identification. If results later change, this record helps connect the blade, material batch and process history. It also makes a follow-up discussion more precise than reporting that the latest delivery “cuts differently.”
Buyers can begin with Xianlong's continuous ceramic saw blade range and confirm the configuration for their machine and material. Include the trial acceptance criterion in the enquiry so the commercial discussion remains connected to production needs.
Frequently asked questions
Why does porcelain tile chip even with a new blade?
A new blade can still be unsuitable for the tile or operation. Mounting, guidance, workpiece support, water delivery and feed can also affect the result. Record the chip location and inspect the setup before assuming that another new blade is the answer.
Is a continuous-rim blade always the best choice?
It is a relevant starting point for many tile-finishing applications, but rim shape alone does not establish suitability. Check the material application and complete blade specification, then evaluate it on the intended machine using an agreed edge criterion.
Why does the last corner break off?
End-of-cut damage calls for a close look at offcut support, movement and the approved exit procedure. The pattern alone does not prove the blade is faulty. Keep the offcut identified and compare the final section of repeated cuts.
Can increasing the water flow eliminate chipping?
Correct water delivery matters for wet cutting, but it cannot correct every blade or mechanical problem. Verify the required delivery at the cutting area and its consistency through the pass. Follow the specified conditions instead of increasing flow without a defined target.
Should the tile face up or down?
Follow the instructions for the specific saw and material. Rotation, blade position, cutting direction and support determine the appropriate arrangement. A rule taken from another machine may not apply. Record orientation as part of the trial so comparisons remain meaningful.
What information should I send when requesting a blade recommendation?
Provide the tile identity and thickness, machine model, current blade marking, cut type and operating conditions. Add an overall setup photo, close-ups of the damaged edge and the required finish. State what changed before the problem began and which checks have already been completed.
Conclusion: Make the next blade decision measurable
Tile chipping is best investigated as a blade, machine and process question. Locate the defect, verify the installation, support the workpiece and offcut, check wet-cutting water delivery, and review the permitted cutting procedure. Then compare suitable blades under consistent conditions.
The most useful result is a repeatable cut that meets the customer's edge requirement, supported by a clear record of how it was produced. That record helps production staff investigate problems and gives purchasing teams a firmer basis for selecting the next blade.