
In this guide 10 sections
Evaluate a sintered stone cutting blade on your actual material and machine. Inspect the top edge, underside, cut face and finished dimensions, then compare repeatability, finishing time and usable output. A clean-looking sample is a useful starting point; purchasing approval also needs a record of how that sample was produced.
For a countertop fabricator, a blade decision affects more than the saw. It influences the time spent refining an edge, fitting a joint and replacing a damaged piece. For a distributor, the challenge is matching a blade to customers whose machines and materials may differ considerably.
The most useful question is therefore specific: “Can this blade produce the edge we need, on this slab, with the equipment we have?”
This guide explains how to turn sample photographs, a supplier discussion and a controlled cutting trial into a practical buying decision.
Define the job before judging the sample
Start with the product application. A straight cut concealed beneath an adjoining component has a different acceptance requirement from an exposed countertop edge or a visible miter joint.
Write down the slab manufacturer, product series, finish, thickness and backing condition. Add the intended cut length, finished part dimensions and any narrow strips or angled cuts. Include a drawing when words could leave the geometry open to interpretation.
Avoid identifying the material only as “hard stone.” Engineered quartz, porcelain and sintered surfaces are not interchangeable blade applications. Alpha Professional Tools, for example, distinguishes its quartzite blade from the products it recommends for sintered slabs. That distinction supports asking for material-specific suitability rather than assuming hardness alone determines compatibility. Alpha technical FAQ
Decide which edge will remain visible
Mark the presentation face, underside, entry end and exit end on the sample record. Explain whether the cut will remain exposed, receive a small bevel, be polished or become part of an adhesive joint.
Agree on acceptance before cutting. “Good finish” is difficult to compare across two workshops. A reference sample, drawing and defined inspection method give both sides a clearer target.
Ask for the cutting conditions behind the result
Sample photographs become much more useful when they accompany a short process record. Ask the supplier to connect every sample to its blade identification and cutting conditions.
| Information to request | Why it matters to the buyer |
|---|---|
| Material series, thickness and finish | Establishes whether the trial represents your work |
| Machine model and cutting arrangement | Shows whether the setup can be reproduced |
| Blade diameter, bore and specification | Identifies the actual tool being evaluated |
| Spindle speed and feed setting | Makes the operating conditions traceable |
| Cooling and support arrangement | Records important parts of the cutting setup |
| Cut type, length and pass sequence | Separates different machining tasks |
| Edge condition before and after finishing | Distinguishes the saw result from later correction |
| Trial sequence and total length cut | Helps reveal whether quality changes during use |
Compare the options Tap to expand
Material series, thickness and finish
- Why it matters to the buyer
- Establishes whether the trial represents your work
Machine model and cutting arrangement
- Why it matters to the buyer
- Shows whether the setup can be reproduced
Blade diameter, bore and specification
- Why it matters to the buyer
- Identifies the actual tool being evaluated
Spindle speed and feed setting
- Why it matters to the buyer
- Makes the operating conditions traceable
Cooling and support arrangement
- Why it matters to the buyer
- Records important parts of the cutting setup
Cut type, length and pass sequence
- Why it matters to the buyer
- Separates different machining tasks
Edge condition before and after finishing
- Why it matters to the buyer
- Distinguishes the saw result from later correction
Trial sequence and total length cut
- Why it matters to the buyer
- Helps reveal whether quality changes during use
Request operating settings approved for that exact blade, machine and material combination. There is no useful universal RPM or feed rate for every sintered slab. Cosentino's Dekton fabrication guidance, for example, separates blade rotation, material support, water delivery and feed conditions rather than treating them as one setting. Dekton fabrication guide
If candidates require different permitted settings, record those differences. A comparison should reflect achievable production conditions without forcing either blade outside its operating instructions.
Inspect the sample from five viewpoints
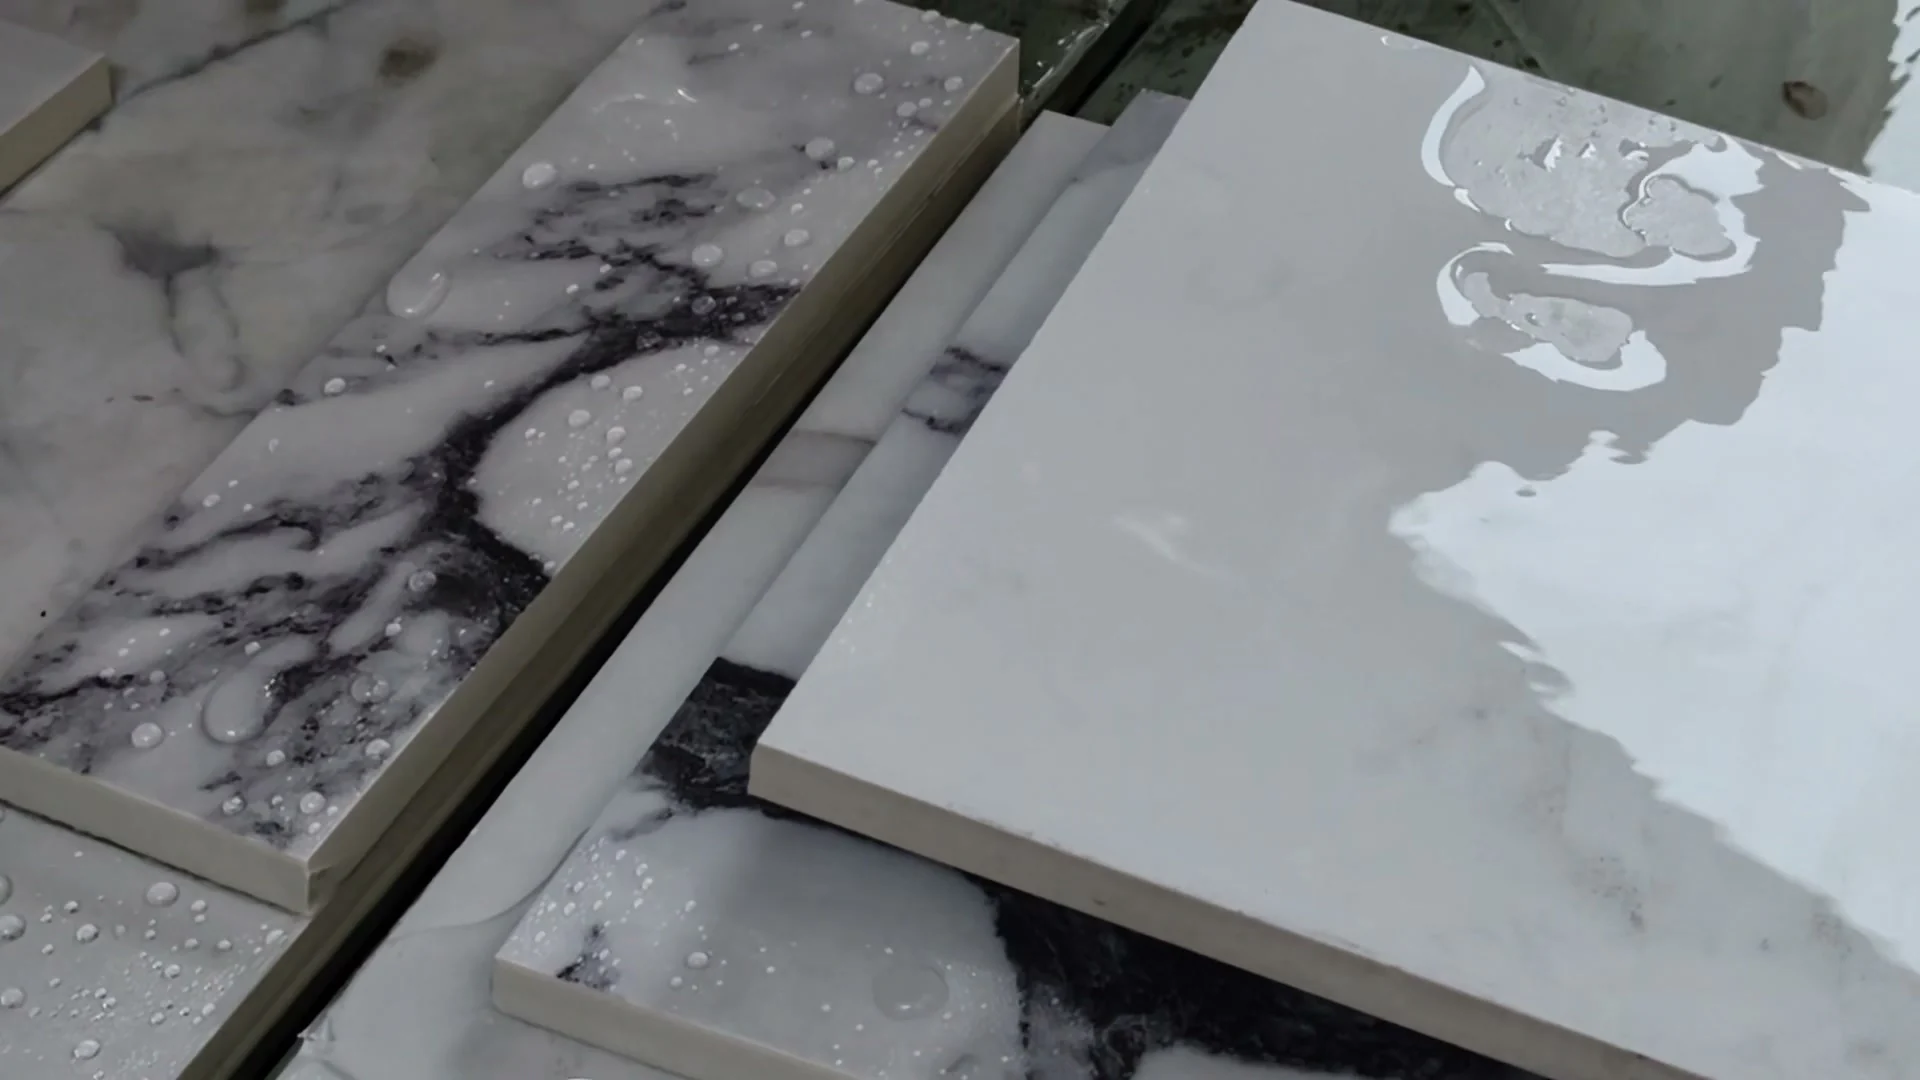
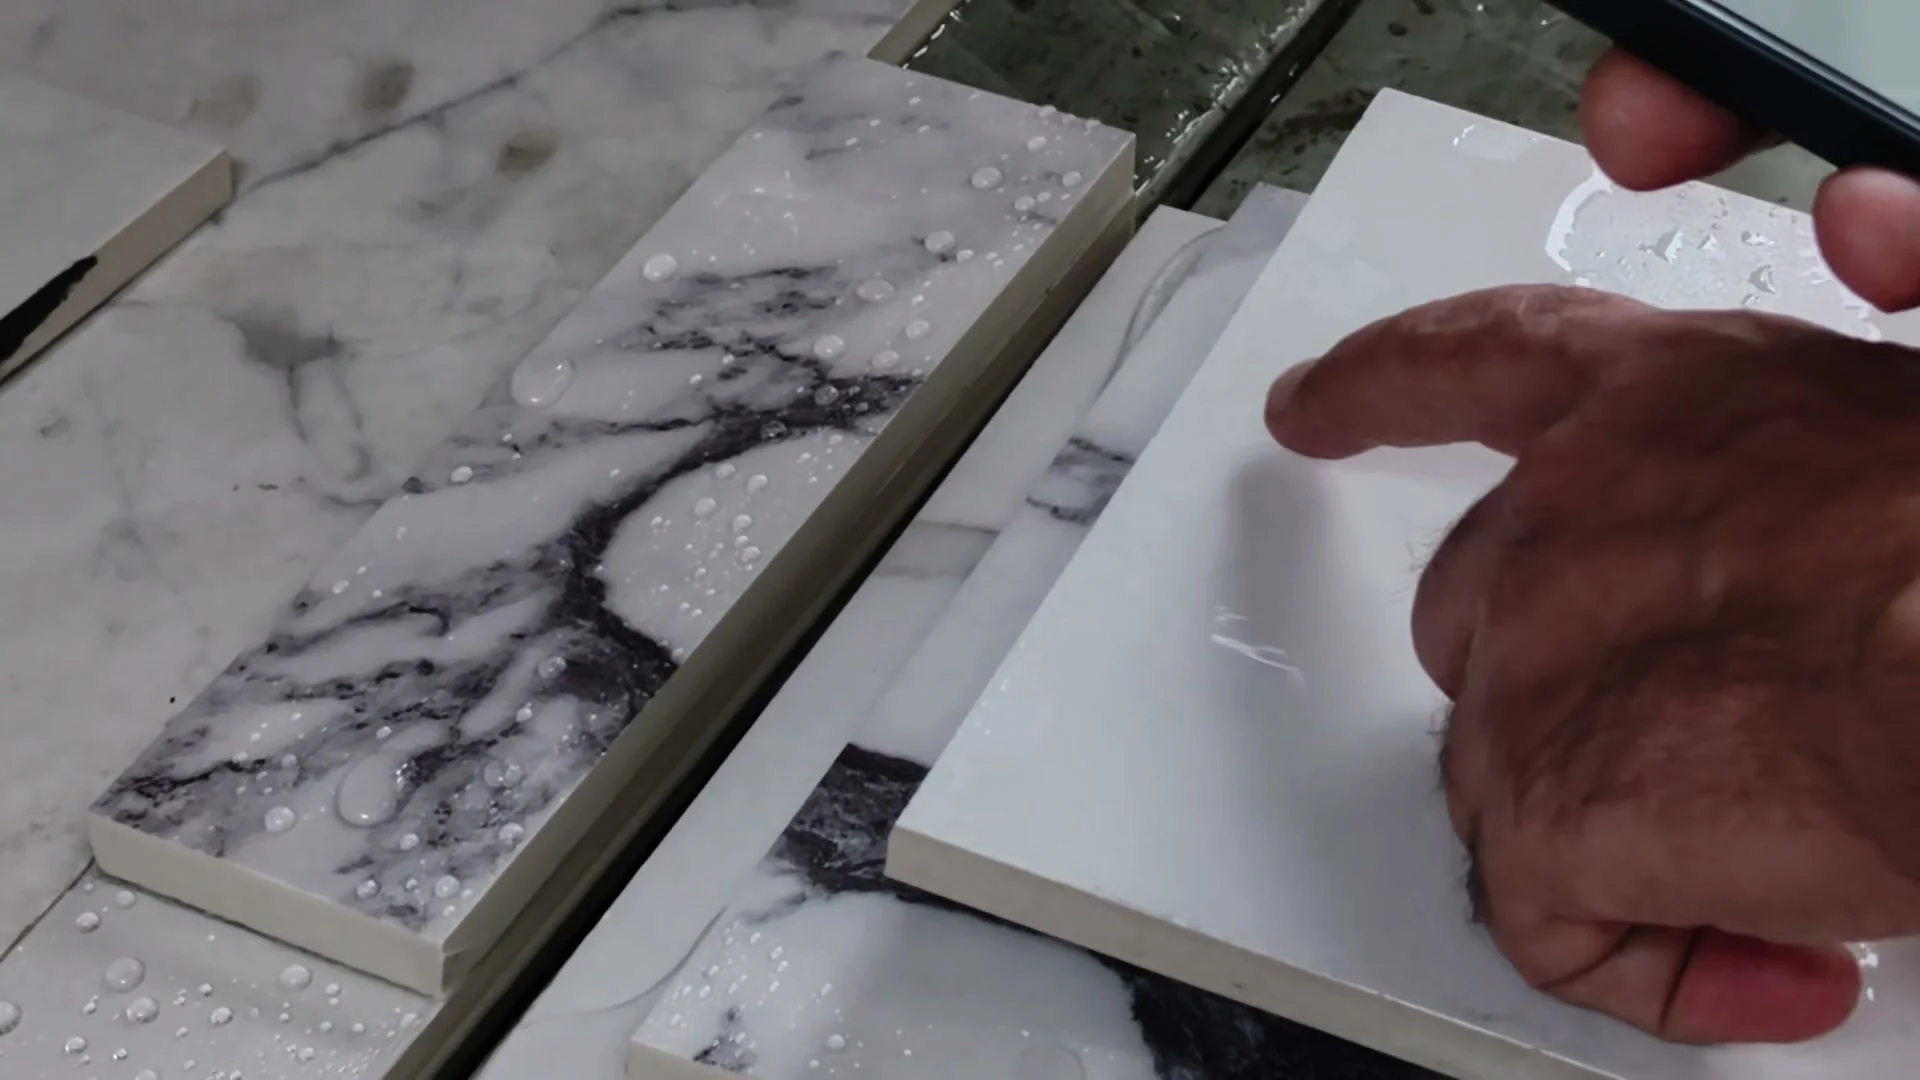
Clean the sample and inspect it after the surface has dried. Water reflections can make photographs harder to interpret. Use consistent lighting, viewing distance and magnification when comparing pieces.
Take both an overall photograph and close-ups. Put a scale beside the area being assessed, in the same plane as the edge, without covering the defect. A phone photograph can document an observation; it does not replace a suitable measuring instrument.
Top edge: check the complete visible boundary
Follow the edge from entry to exit. Look for isolated chips, a repeated chipped pattern and damage concentrated at a corner. Record where each problem occurs instead of describing the whole sample with one adjective.
Evaluate the presentation edge against the agreed finishing plan. A defect that will be removed within an approved finishing allowance is a different purchasing issue from damage extending into the finished face.
Underside: turn the piece over
A satisfactory top view can coexist with damage underneath. Photograph the underside along the full cut and at both ends. Check whether the damage would affect an exposed return, joint, support surface or subsequent operation.
Keep top-edge and underside observations separate. Otherwise, the supplier may respond to one problem while the buyer is referring to another.
Cut face: inspect texture and geometry
Look for visible scoring, ridges and uneven areas across the cut face. Record whether they are consistent along the length or appear only in particular locations.
Check straightness and squareness with instruments appropriate to the drawing and tolerance. Do not infer dimensional accuracy from a glossy slab surface or a photograph taken at an angle.
Entry, exit and corners: review them individually
Photograph the first and last portions of the cut separately. Include the corners, which may be outside the camera frame in an overall sample picture.
If a corner is damaged, record when it was first observed: immediately after cutting, after moving the piece or during fitting. That timeline helps separate a cutting problem from later handling damage.
Finished dimensions: check more than one point
Measure the part where the drawing requires it. For a long strip, checking width at several positions is more informative than measuring one end alone.
For pieces that must fit together, compare the trial assembly with the specified joint geometry. Avoid forcing components together to make an inaccurate cut appear acceptable.
Separate straight cuts, narrow strips and miters
One successful operation should not automatically approve a blade for every job on the production schedule.
| Trial operation | Main purchasing question | Evidence to retain |
|---|---|---|
| Straight sizing cut | Does it meet the required edge and dimensional standard? | Both edges, cut face and dimensions |
| Long cut | Is the result consistent over the required length? | Beginning, middle and end observations |
| Narrow strip | Can the required part be produced and handled acceptably? | Strip width, support arrangement and condition after handling |
| 45-degree miter | Does the angled cut produce the required joint geometry? | Bevel face, exposed edge and trial fit |
Compare the options Tap to expand
Straight sizing cut
- Main purchasing question
- Does it meet the required edge and dimensional standard?
- Evidence to retain
- Both edges, cut face and dimensions
Long cut
- Main purchasing question
- Is the result consistent over the required length?
- Evidence to retain
- Beginning, middle and end observations
Narrow strip
- Main purchasing question
- Can the required part be produced and handled acceptably?
- Evidence to retain
- Strip width, support arrangement and condition after handling
45-degree miter
- Main purchasing question
- Does the angled cut produce the required joint geometry?
- Evidence to retain
- Bevel face, exposed edge and trial fit
Choose trial operations from actual customer requirements. Do not add a narrow-strip test simply to create an impressive demonstration if your normal parts have different dimensions.
Likewise, request explicit miter suitability when ordering for angled work. Diatex publishes separate Neolith blade options with different thickness ranges for 45-degree cutting, illustrating why a straight-cut description alone is insufficient. Diatex application specifications
For the grinding stage after a primary miter cut, see our guide to metal-bond and resin-bond chamfering wheels. Saw-blade approval and edge-finishing tool selection should address their respective operations.
Check machine fit before ordering the trial blade
Installation preparation starts with compatibility. Confirm diameter, bore, mounting arrangement, flange requirements, guard clearance, rotation direction and the permitted operating range against the machine and blade documentation.
The maximum speed marked on a blade is a limit, not a recommendation to operate every material at that speed. Obtain a suitable working range for the proposed application.
Xianlong's sintered stone saw blade range lists diameters from 190 to 400 mm. Its published dimensional combinations include:
| Diameter | Segment height | Listed segment thickness options |
|---|---|---|
| 250 mm | 10 mm | 1.8 / 2.0 / 2.2 mm |
| 350 mm | 10 mm | 1.8 / 2.0 / 2.2 / 2.8 mm |
| 400 mm | 10 mm | 2.8 / 3.0 mm |
Compare the options Tap to expand
250 mm
- Segment height
- 10 mm
- Listed segment thickness options
- 1.8 / 2.0 / 2.2 mm
350 mm
- Segment height
- 10 mm
- Listed segment thickness options
- 1.8 / 2.0 / 2.2 / 2.8 mm
400 mm
- Segment height
- 10 mm
- Listed segment thickness options
- 2.8 / 3.0 mm
Use these dimensions to begin a specification discussion. Add the bore, mounting details and intended operation to identify a suitable configuration. The diameter should follow the machine requirement, not a general preference for a larger blade.
During setup, use the slab manufacturer's support and handling guidance. Laminam's technical guide, for example, calls for suitable diamond discs and stable positioning during processing. Its instructions apply to the specified Laminam products; obtain the corresponding guidance for your slab. Laminam technical guide
Run a trial that answers a purchasing question
Factory testing is most useful when the supplier and buyer agree on the job it is meant to represent. A demonstration on a convenient offcut may establish an initial result, but production approval needs a closer match to your material and part geometry.
Establish a baseline
If your current blade is safe and suitable for continued use, record its result on the same material batch before evaluating the candidate. Keep the sample identification and inspection method consistent.
When the existing process is unstable, address that instability first. Otherwise, a change in support, mounting or operating conditions may be mistaken for a difference between blades.
Keep a repeatable sequence
Record the first acceptable cut and subsequent cuts in sequence. Include the required cut length and operations, rather than approving the tool from one short sample.
Log pauses, dressing, setting changes and abnormal events. If a change improves the result, repeat the relevant operation under the revised conditions before drawing a conclusion.
Use a simple trial sheet with one row per cut. Include the sample number, blade reference, operation, settings, observed defects, finishing time and acceptance decision. Save photographs under the same sample number so the result can be checked later.
When two people inspect the samples, have them use the same reference and method. Resolve disagreements before approving the order. If a borderline result cannot be measured reliably with the available equipment, agree on a better inspection method rather than replacing a measurement with a favorable photograph.
Separate cutting quality from finishing effort
Inspect samples before edge correction, then document the finished result separately. Record the time and tools needed for the agreed finishing process.
A blade that produces an acceptable finished edge only after substantial correction has a different production value from one that reaches the same requirement with less finishing. Both results may be usable, but the buying decision needs that distinction.
Approve a defined application
Set the trial duration and acceptance criteria before starting. A short trial can support an initial suitability decision; a service-life claim requires a longer record covering wear and acceptable output.
Montolit also emphasizes trial cuts when evaluating porcelain blades whose appearance may be similar. The practical lesson is to compare results on the work material, not infer performance from the blade's appearance. Montolit blade comparison guidance
Compare cost per accepted output
Blade purchase price is easy to compare. Production cost requires a record of what the blade helped produce.
For a defined trial, total the blade cost allocated to that trial, cutting labor, finishing labor and material losses. Divide that total by the accepted output, using a consistent unit such as accepted linear meters or completed parts.
Keep the accounting boundary the same for each candidate. Do not compare one blade using purchase price alone and another using labor and rejected material as well.
If useful blade life has not yet been established, show the trial costs separately instead of presenting an estimated lifetime cost as a measured result. This keeps the comparison useful while the wear record develops.
For distributors, attach the approved application and operating information to the product specification. A successful trial for one customer should become a clearly described reference application, not an unrestricted promise to every buyer.
Carry the approved specification into shipment inspection
Once the trial is accepted, record the exact configuration in the purchase order. Include the blade reference, dimensions, mounting details, application and any agreed identification requirements.
Request the shipment inspection records agreed with the supplier. These may include dimensional checks, identification photographs, quantity confirmation and packaging photographs. Specify which records you need before production or dispatch.
Compare the delivered blade identification with the approved order before installation. Keep the trial record available so the receiving team and machine operator work from the same information.
Ask the supplier to confirm any proposed specification change before a repeat order. This helps prevent a purchasing description from drifting away from the configuration that was actually approved.
Frequently asked questions
What is the best blade for cutting sintered stone?
The appropriate blade is one specified for the exact slab and cutting operation, compatible with the machine, and supported by an acceptable trial. Diameter, price or a “hard materials” description alone cannot establish that match. Begin with material identification and the finished edge requirement.
Can I approve a blade from a cutting video?
A video is useful for discussing the process and visible results. Request the material, blade and machine details alongside it, plus close-ups and measurements of the finished sample. A short clip does not establish repeatability or service life.
Should I inspect the sample wet or dry?
Record the as-cut condition, then clean the sample and inspect it dry under consistent lighting. Water, slurry and reflections can obscure details in photographs. Compare the same edge locations and use an agreed measurement method for acceptance.
Does a clean straight cut prove that the blade can make miters?
No. Confirm that the blade and machine are suitable for the intended angled cut, then evaluate a representative miter separately. Check the bevel face, exposed edge and fit of the joint, together with the required finishing effort.
How many sample cuts are enough before a bulk order?
There is no universal number. Agree on a trial sequence that covers your material, part geometry and repeated operation. Initial suitability, consistency and useful service life are different questions and may require different amounts of evidence.
What should I send when asking for a quotation?
Send the slab brand and series, thickness, finish, machine model, blade diameter and bore, cut type, required dimensions and expected order quantity. Include sample photographs and the edge requirement. If you have a process record, attach it to make the discussion more specific.
Conclusion: buy against a documented result
A useful sintered stone blade evaluation connects the material, machine, operating conditions and finished part. Examine the complete sample, separate the cutting result from later finishing, and check that the result repeats under the conditions you intend to use.
That record gives purchasing, production and the supplier a common basis for approving the tool and checking subsequent deliveries.