
In this guide 8 sections
Diagnose the chip pattern first
To reduce chipping in sintered stone, identify where the damage occurs, then check slab support, blade condition, mounting, water delivery and the approved cutting procedure. Use a blade specified for the material and operation. Change one factor at a time so you can see which change improves the edge.
Where the chip appears is a useful clue
01Along the edge
Compare both faces. Check blade condition, machine stability, support and the approved feed setting.
02At the exit
Look for offcut movement and a loss of support at the last part of the pass.
Use the damage location to choose the first check
| Where you see damage | Inspect first | Record for the next comparison |
|---|---|---|
| Along most of the top edge | Blade condition, runout, feed and slab support | Full-edge photo and close-ups at the same scale |
| Mainly on the underside | Table contact, support and the blade’s exit through the slab | Both slab faces and the support arrangement |
| At the end of the cut | Offcut movement and the prescribed exit method | Last section of the cut and offcut position |
| Mainly during miter work | Angled-cut setup, remaining edge, support and blade suitability | Miter face, thin edge and joint fit |
| Appeared after a batch change | Slab identity, thickness, backing and processing instructions | Old and new material references |
Compare the options Tap to expand
Along most of the top edge
- Inspect first
- Blade condition, runout, feed and slab support
- Record for the next comparison
- Full-edge photo and close-ups at the same scale
Mainly on the underside
- Inspect first
- Table contact, support and the blade’s exit through the slab
- Record for the next comparison
- Both slab faces and the support arrangement
At the end of the cut
- Inspect first
- Offcut movement and the prescribed exit method
- Record for the next comparison
- Last section of the cut and offcut position
Mainly during miter work
- Inspect first
- Angled-cut setup, remaining edge, support and blade suitability
- Record for the next comparison
- Miter face, thin edge and joint fit
Appeared after a batch change
- Inspect first
- Slab identity, thickness, backing and processing instructions
- Record for the next comparison
- Old and new material references
A chip pattern suggests what to inspect; it does not identify the cause on its own. Keep the first photographs before cleaning or changing the setup. Include a ruler and the direction of cutting.
Separate straight cutting from 45° work
An acceptable straight edge does not establish that the same setup will produce an acceptable miter. Angled work changes the edge geometry and support demands. Follow the slab manufacturer’s instructions for the actual material, including cut order and entry and exit methods.
Straight cuts and miter cuts need separate checks
01Straight cutting
Check the visible face, edge line and exit. Support the slab and offcut throughout the pass.
0245° miter
Inspect the thin edge and joint fit. Confirm the blade, support and cutting method for angled work.
Check the incoming cut before blaming a later chamfering or finishing wheel. If damage is already present, inspect the cutting stage first. A finishing operation may not remove chips that extend beyond the available allowance.
Check the tool and the machine
Isolate the machine before inspecting the blade, mounting or spindle. Review blade identity and condition, flange seating, alignment, support and coolant delivery. A damaged blade must be removed from service. If the cutting surface is smooth but sound, review the application and any dressing procedure with the blade manufacturer.
Follow the appropriate dust-control measures for the slab and task. NIOSH safe-work guidance describes water and ventilation controls for silica-containing materials.
Review a sintered-stone blade configuration
The sintered-stone series includes diameters from 190 to 400 mm. Compare the actual height and thickness combination for your diameter; then confirm the bore, machine limits and suitability for straight or angled cutting.
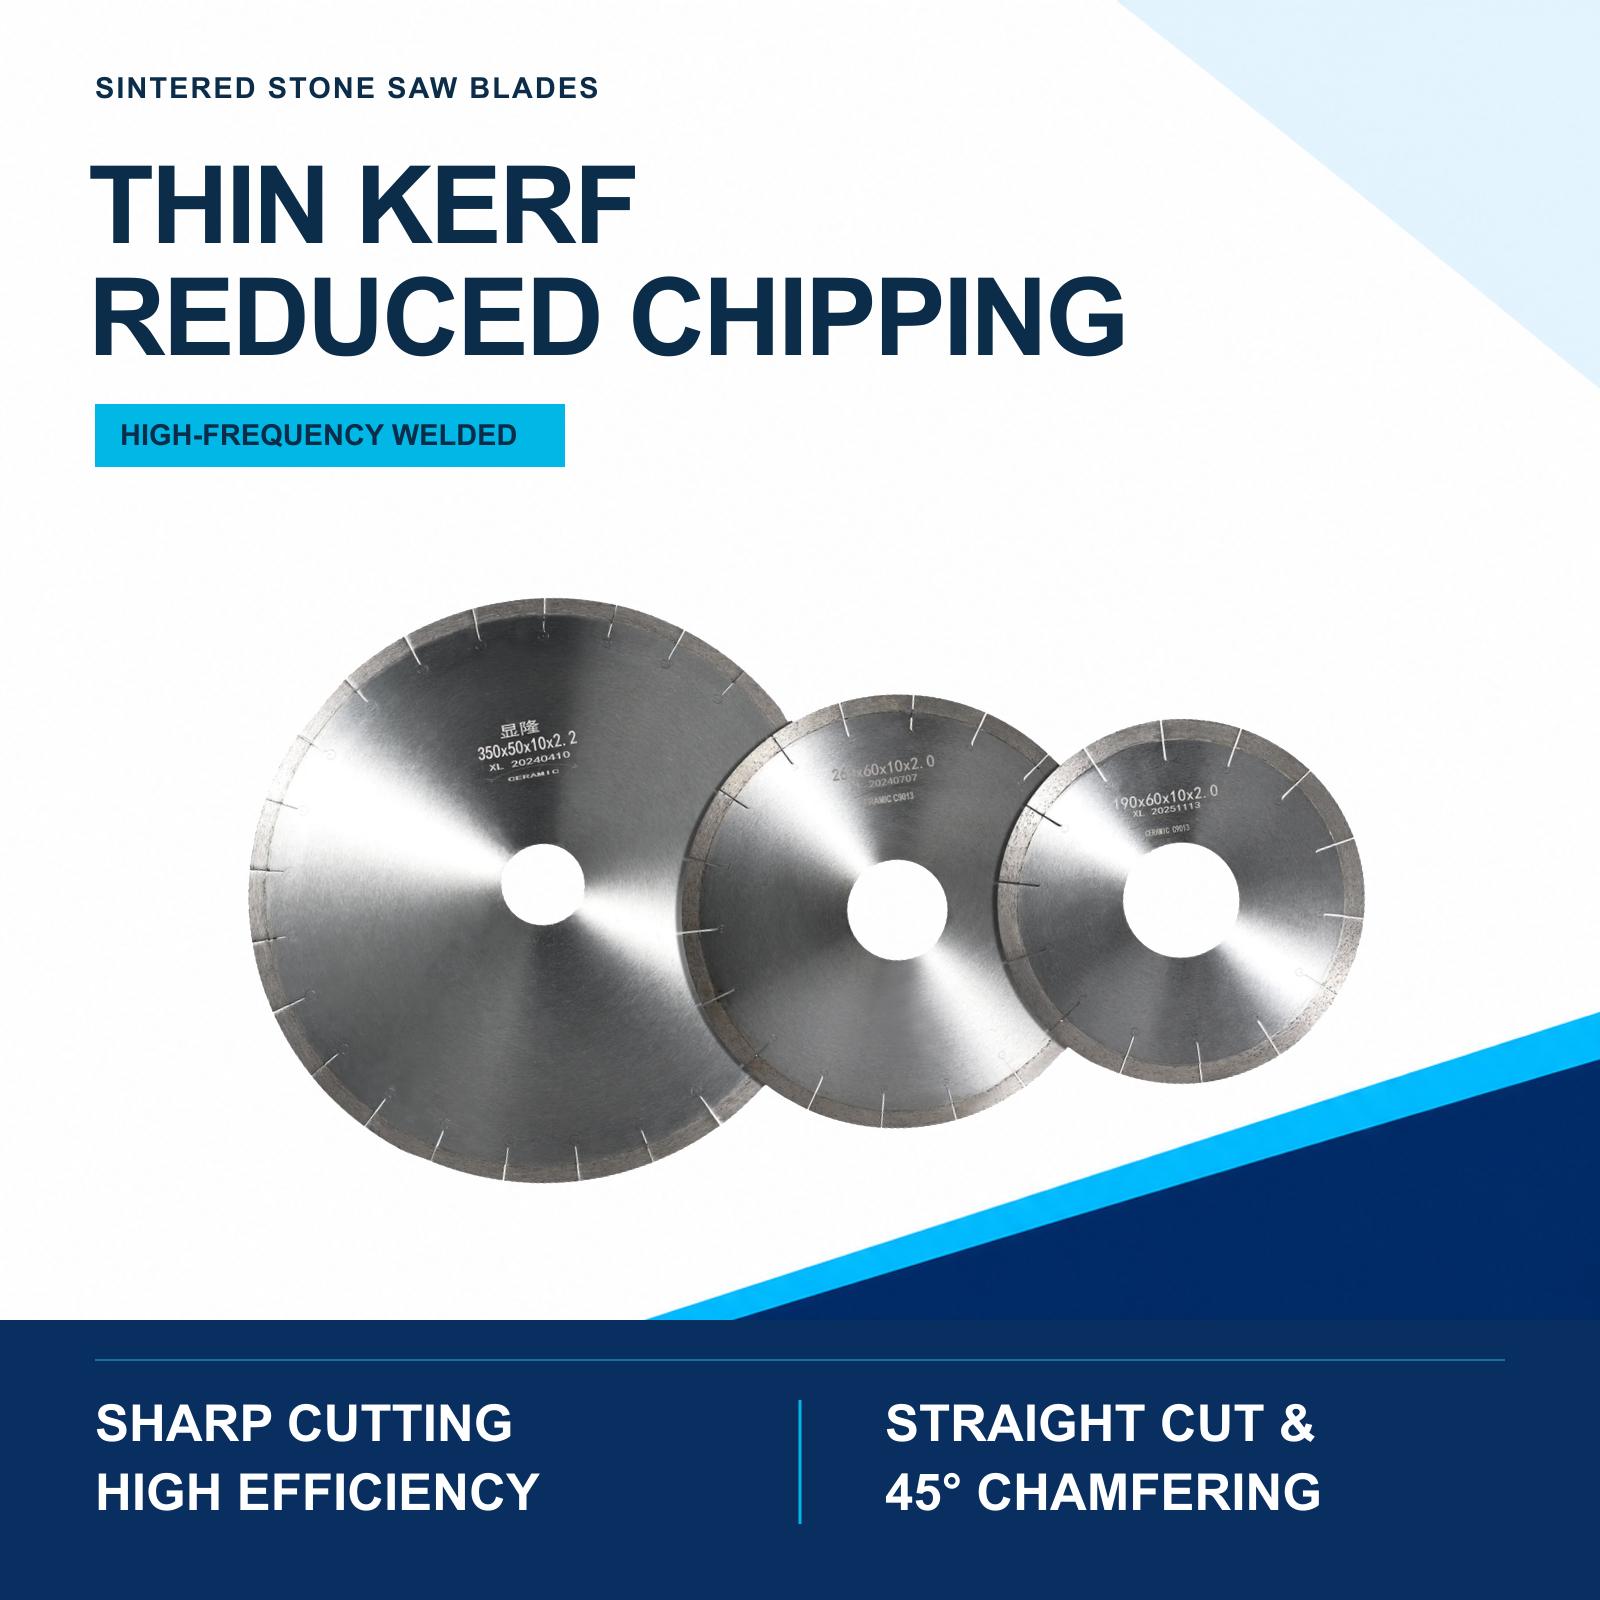
Sintered Stone (Dekton) Saw Blades
Specify straight cutting, 45° bevel cutting or grooving before choosing the blade. For a miter, include slab thickness and the required joint edge so the blade and subsequent finishing steps can be reviewed together.
View specificationsThe product family is the starting point for a quotation. Give the supplier the slab product name and thickness, saw model, current blade and a photograph of the required edge so the configuration can be narrowed to the job.
Run a comparison that answers one question
For example, if exit breakout is the main problem, first compare the existing support with the slab maker’s prescribed support and exit arrangement. Keep the blade, material and other approved settings consistent. Record whether the breakout changes before selecting a different blade.
If the setup is sound and a blade comparison is needed, use the same material batch and edge criterion. Record accepted output as well as cutting time. Keep the result for straight cutting separate from the result for miter work.
Send a compact troubleshooting record
Send a full-cut photograph, close-ups at entry and exit, the blade marking, slab identity and thickness, machine model and current operating settings. Explain when the problem began and what changed. Those details give the supplier a more useful starting point than a request for a “chip-free” blade.
FAQ
What is the first thing to check when sintered stone starts chipping?
Stop if operation is unsafe, preserve the sample and verify that the blade is intended for the exact material and operation. Then inspect mounting, support and water delivery before making parameter changes. Recording the chip location helps prioritize the sequence.
Does more water always solve chipping?
No. Stable, correctly directed water is important for a wet-cut blade, but chipping can also come from blade mismatch, runout, vibration, poor support, unsuitable operation or exit movement. Follow the specific equipment and blade requirements rather than applying an arbitrary flow.
Why is chipping worse at the end of the slab?
Exit breakout can be influenced by offcut movement, reduced remaining material, support or the programmed exit. Record the support and path, then review them with the machine and material instructions. Do not improvise a holding method around moving equipment.
What photos should I send to a blade supplier?
Send the full machine and support setup, blade marking, flange or adapter arrangement when safely accessible, water-nozzle arrangement, slab face and body, and close views of entry, middle and exit damage. Mark feed and rotation direction and include a scale in edge photographs.