
In this guide 7 sections
Choose grit for the job of each station
Select squaring-wheel grit by the incoming edge, removal allowance, material, machine and required finish. Plan the sequence so earlier stations establish geometry and later stations refine the surface. Use the supplier’s full grit designation and specification; a single number does not determine how the wheel will behave on your line.
Match the abrasive to the work of each stage
01Stock removal
Establish size and remove the incoming allowance with a suitable abrasive and bond.
02Refining
Reduce the marks and damage left by the preceding station.
03Finishing
Meet the agreed visible-edge and dimensional requirement.
Define what each station receives and must deliver
A finishing station should receive an edge that it can refine within its available allowance. If deep scratches or chips arrive from an earlier stage, changing only the final grit may leave the underlying problem intact.
Norton’s grinding-wheel selection guidance considers material, severity, finish, contact area, speed, coolant and machine power together. Apply those questions to the actual squaring line when discussing a sequence with the wheel supplier.
| Stage | Main task | Inspect before moving to the next stage |
|---|---|---|
| Initial stock removal | Establish the planned size and edge geometry | Removal consistency, squareness and major edge damage |
| Intermediate processing | Reduce the preceding marks and defects | Residual scratches, chips and remaining allowance |
| Final refinement | Meet the agreed visible-edge and dimensional requirement | Finished surface, size and corner condition |
Compare the options Tap to expand
Initial stock removal
- Main task
- Establish the planned size and edge geometry
- Inspect before moving to the next stage
- Removal consistency, squareness and major edge damage
Intermediate processing
- Main task
- Reduce the preceding marks and defects
- Inspect before moving to the next stage
- Residual scratches, chips and remaining allowance
Final refinement
- Main task
- Meet the agreed visible-edge and dimensional requirement
- Inspect before moving to the next stage
- Finished surface, size and corner condition
Keep grit designations intact
The continuous metal-bond and resin-bond squaring ranges list D151, D181, D252, D301, D427 and D501. Record the designation exactly as supplied, including the letter. Ask the supplier to explain its particle-size basis before comparing it with another numbering system or choosing a stage order.
Bond, segment structure and contact conditions still matter at the same grit designation. A change of wheel family should therefore be reviewed as a complete specification change.
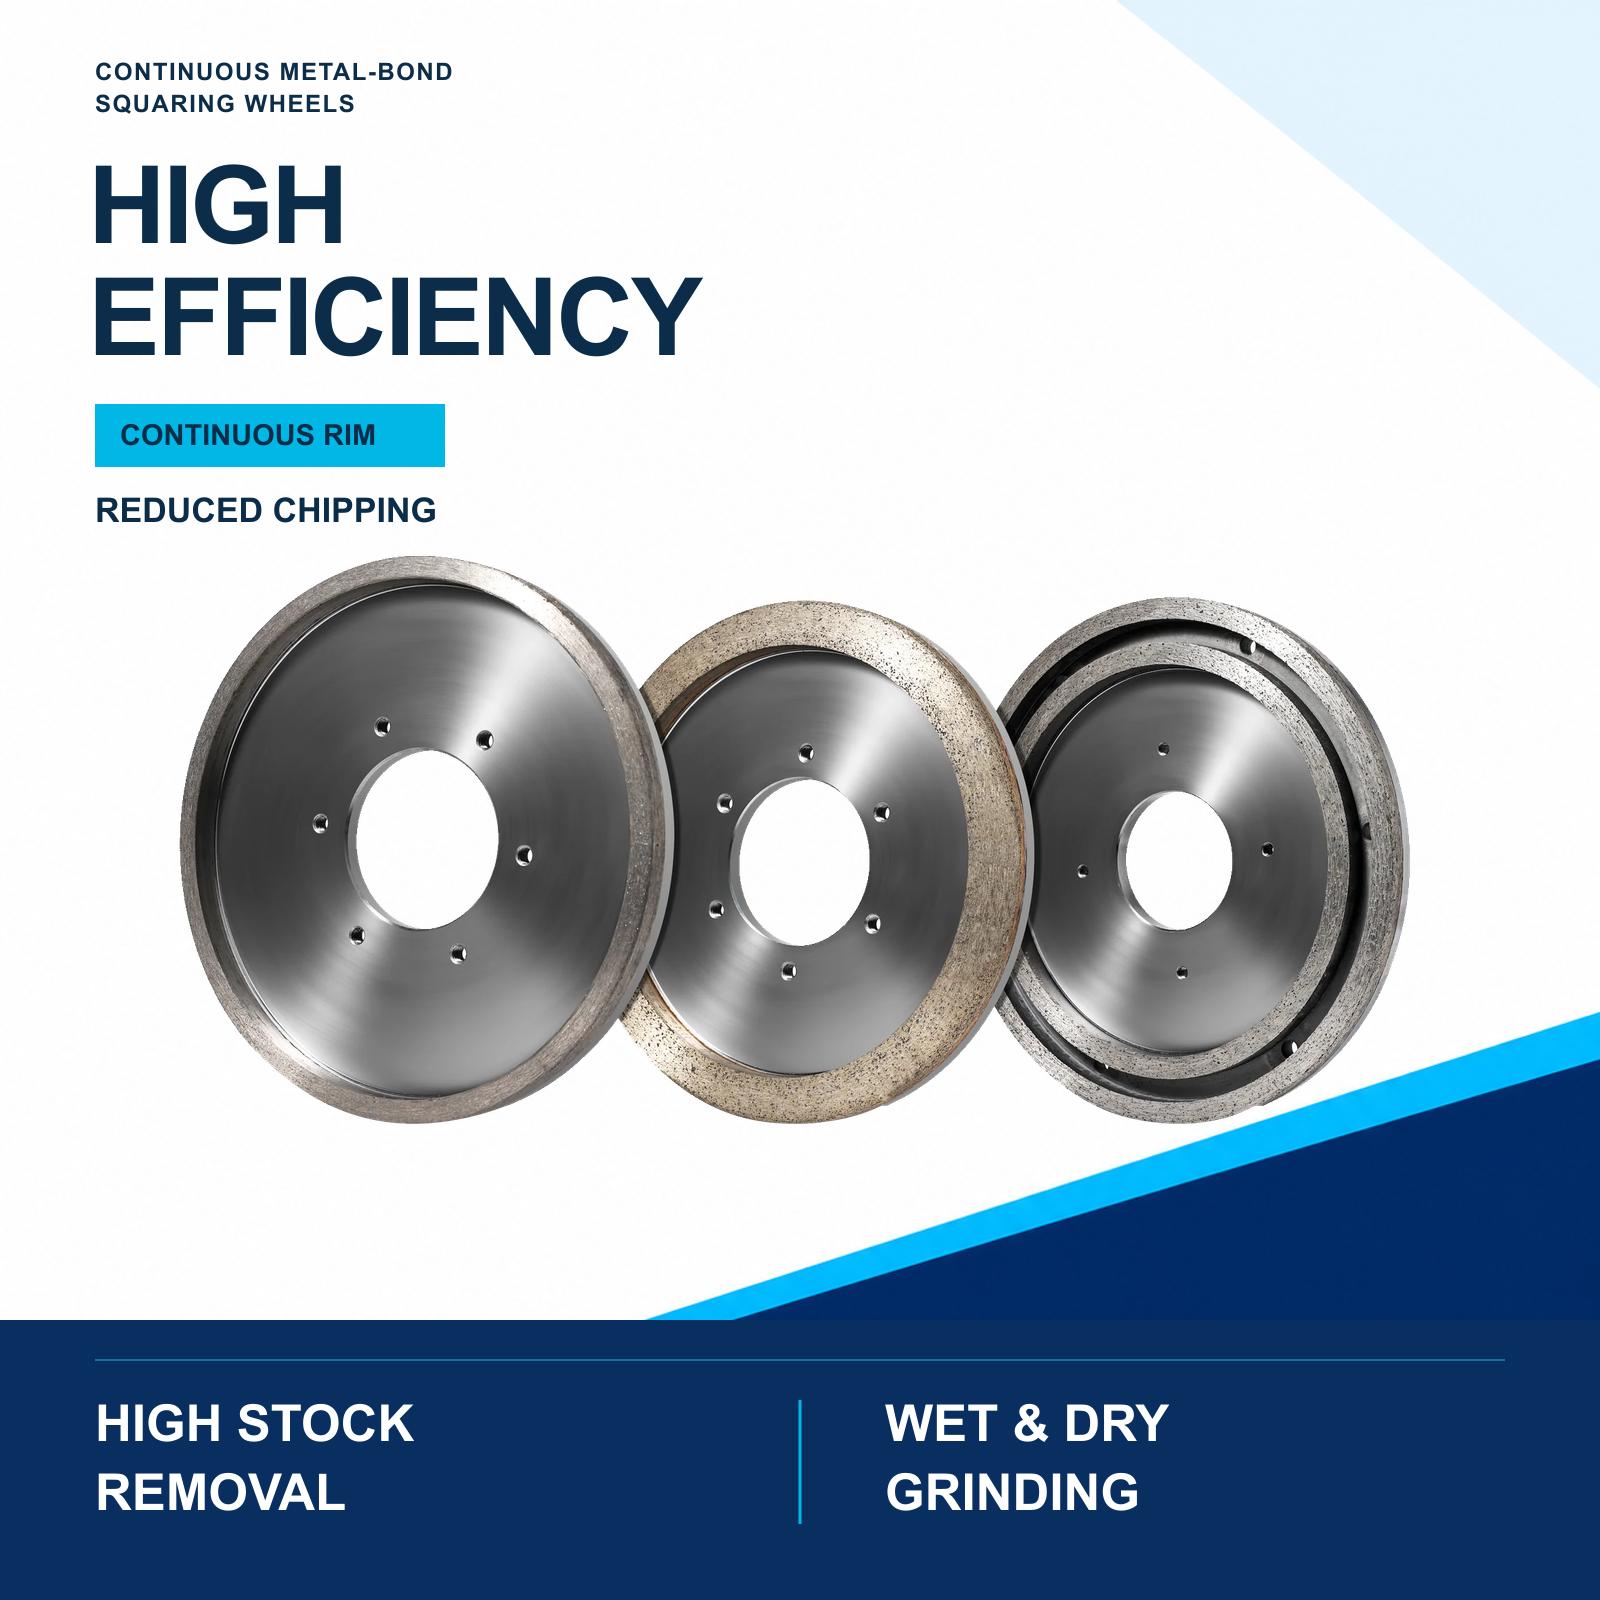
Continuous Metal-Bond Squaring Wheels
Consider this metal-bond series for dry or wet ceramic and sintered-stone edge grinding. Compare the stock-removal task with the later finishing requirement before choosing the working section and grit.
View specifications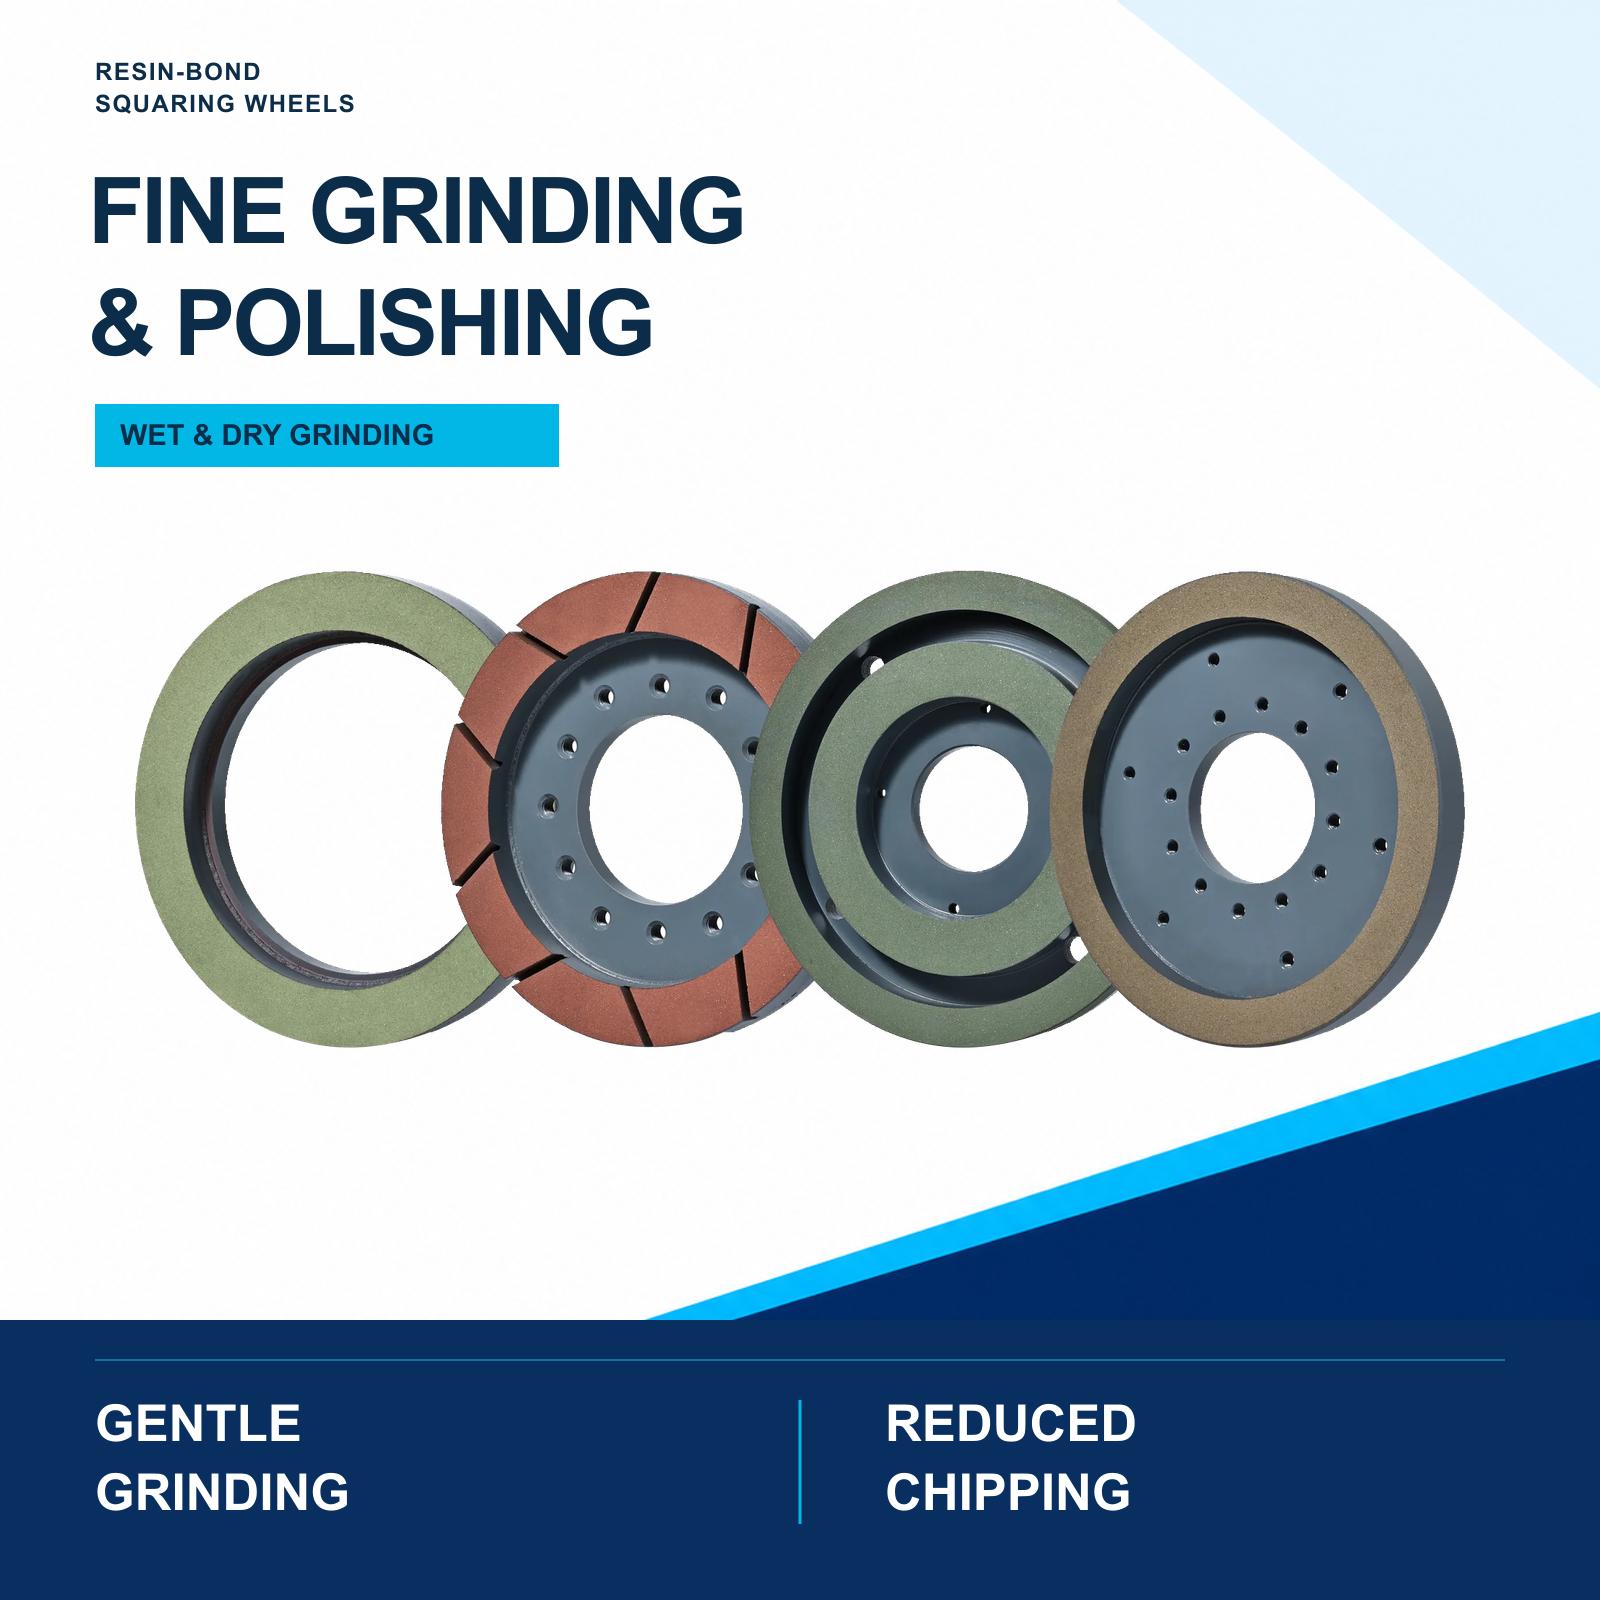
Resin-Bond Squaring Wheels
Choose the resin-bond configuration for the fine-grinding or trimming stage and its dry or wet method. Include the preceding wheel, incoming edge condition and required finish when comparing grit options.
View specificationsFind the station where the edge stops improving
Follow one edge through the stations
- 01
Incoming edge
Record size variation, cut marks and chips before the first wheel.
- 02
After each station
Record the wheel identity, grit, removal allowance and edge condition.
- 03
First point of failure
Find where the defect appears or stops improving before changing the final wheel.
- 04
Finished tile
Check size, squareness and the agreed visual finish together.
During a trial, inspect the same type of edge after each accessible stage using the line’s approved inspection method. Record wheel identity, designation, planned removal and outgoing condition. Keep the sequence and station positions clear so the supplier can see which tool is doing which job.
If scratches first appear at one station, inspect its wheel condition, alignment, mounting and process. If an earlier scratch remains through several stages, review the preceding removal and the later allowance. Do not assume every visible mark is a grit problem.
Selection example: scratches remain after the fine stage
Start with photographs before and after the final station. If the same deep marks already exist before it, inspect the preceding stages and their allowances. If the final station creates new marks, check that station’s tool, cleanliness and mounting before changing the whole sequence.
Keep any trial within approved operating conditions. Change one suitable factor at a time and inspect size and squareness as well as the surface. A smoother edge is not an improvement if it misses the finished dimensions.
Prepare a line-specific enquiry
Send the tile body and thickness, machine model, station layout, wheel dimensions, current grit designations and wet/dry mode. Include the incoming edge and the first stage where the defect appears. State the final acceptance requirement so the supplier can propose a sequence around the actual result.
For the different roles of the wheel families, see the metal-bond and resin-bond comparison.
FAQ
Does a higher grit number always mean a finer diamond wheel?
Not across every designation system. Confirm whether the supplier uses mesh, FEPA, micron or a proprietary code. Do not convert a designation without the supporting specification.
Should ceramic tile squaring always start with a coarse grit?
The first station must handle the actual removal and geometry task, but “coarse” is relative to the product system and process. Select it from measured incoming variation, tile body, machine and accepted edge—not from a universal chart.
Can one squaring wheel perform roughing and finishing?
Sometimes a process with low removal and modest finish requirements may use fewer stages, but one wheel should not be assumed capable of all work. Approve the result through a controlled trial and measure geometry, edge condition and wheel consumption.
How do I know which station causes chipping?
Inspect the edge before and after each station under consistent conditions. Identify the first point where the defect appears, then check alignment, removal, wheel condition, support and process settings at that location.